Glass and metal product photos: preparing and reviewing cutouts
Transparency and reflections can make subject boundaries ambiguous. Plan the shot and review the processed result.
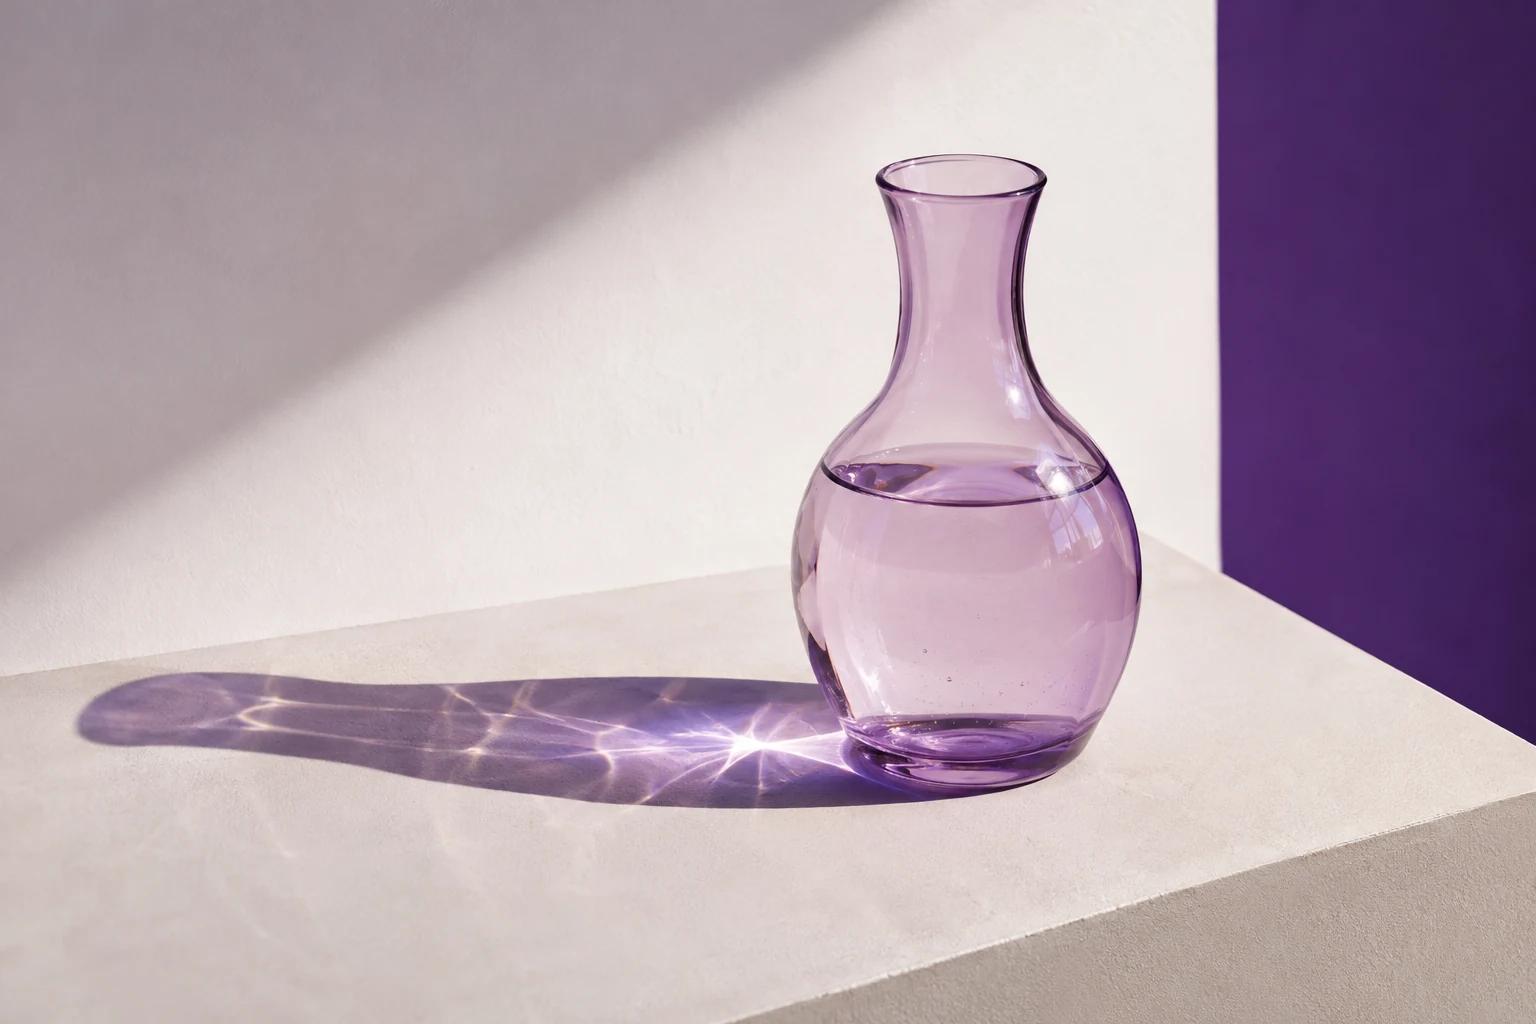
A transparent bottle does not completely hide its backdrop. A chrome object reflects its surroundings. Changing backgrounds does not automatically remove these properties; parts of the environment may remain visible through or on the product.
Start with the photograph
Agree on a backdrop and lighting that make the shape readable. Keep an unretouched view for comparison. Avoid nearby props when the result will become a packshot; reflections and overlaps complicate separation.
Inspect edges and interiors separately
For glass, check the complete outline and whether transparent areas become unnaturally opaque. For metal, compare reflections with the source; removing them all may change how the material reads. A clean outer silhouette alone is insufficient for approval.
Test the destination background
A product that looks plausible on white may look pasted onto an intense color. Test a surface close to the final background. If the old environment’s color remains visible in the material, a new source may be more suitable than further automatic passes.
Define what must stay intact
- Product shape and apparent thickness.
- Openings, thin edges and transparent parts.
- Engravings and surface details.
- The relationship between reflections and material.
- The color of the actual variant sold.
Background cleanup does not justify losing this information.
Create a dedicated product family
If the catalog contains many reflective products, approve a specific sample and allocate review time. Centyr’s cutout and shadow features support the workflow but do not certify physically accurate transparency or lighting reconstruction. Keep a specialist-review path for difficult images.